Video walls are becoming more common in retail stores, airports, corporate offices, museums, and trade shows. They create an immersive experience that grabs attention and transforms the way companies interact with visitors.
Whether you’re looking to enhance a business setting or build a standout home entertainment display, learning how to make your own video wall can open up endless possibilities for dynamic and engaging visuals.
What Is a Video Wall?
A video wall is a large display made by combining multiple smaller screens. These displays often have thin bezels, making the seams between them less noticeable. Video walls offer higher brightness and resolution than a single monitor and can be arranged in various shapes, including squares, rectangles, or even custom artistic forms.
How Do You Build a Video Wall?
Building a video wall can range from something simple like a 2×2 grid of flat-screen TVs to a sophisticated LED display with 100 screens. Here’s a step-by-step guide to creating your own video wall.
Plan and Measure Your Installation
Start by planning the space for your video wall. Consider its purpose (digital signage, at-home gaming, presentations, or exhibitions) and figure out how many screens you need. Accurate measurements ensure the wall fits well and doesn’t overwhelm the space.
Be mindful of the viewing distance and screen orientation (horizontal or vertical), which depend on the layout of the area. A diagram can help visualize the final setup, accounting for screen size, bezel width, and weight distribution.
Choose the Right Display Technology
Choosing the right display technology for your video wall is key to achieving the desired visual impact.
LCD Panels
LCD screens are generally more budget-friendly compared to other technologies like OLED or LED, making them an attractive option for home setups. LCD panels are also energy-efficient, which is especially important for long-term use in a video wall. With a typical lifespan of about 50,000 hours, LCD screens ensure years of reliable performance.
Modern LCD screens feature ultra-narrow bezels, minimizing seams between panels. However, even with these narrow bezels, the seams between the screens may still be noticeable, which may detract from the overall effect.
LED Panels
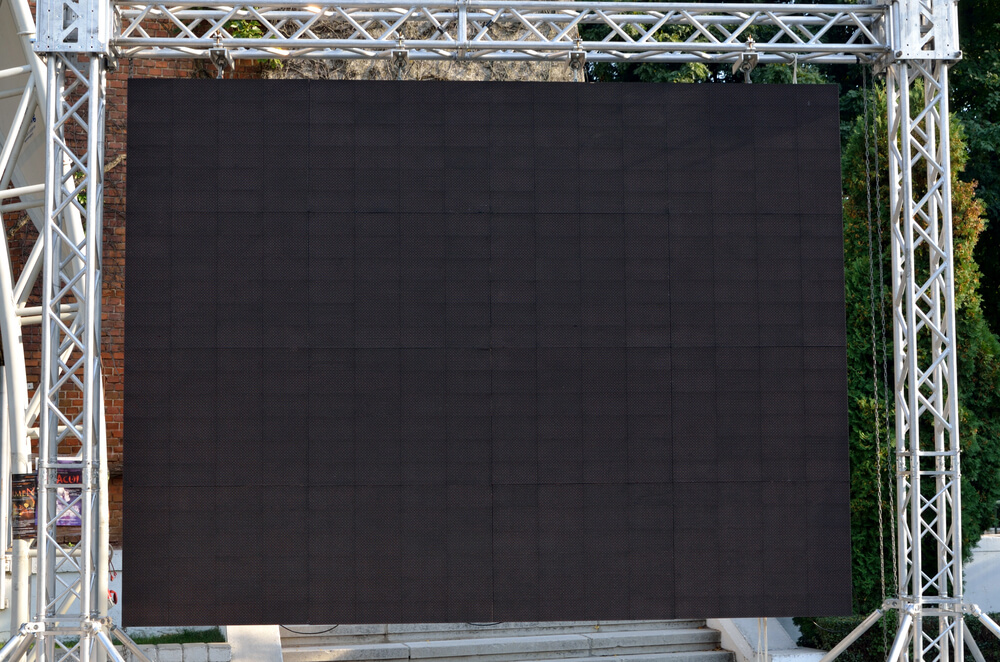
LED panels are an excellent choice for video walls due to their high brightness, minimal bezels, and long operational lifespan. These displays can run for extended periods, often up to 100,000 hours or more, making them ideal for continuous use in public spaces, trade shows, or retail environments. The low bezel design of LED panels ensures a nearly seamless visual experience, with the thin borders between screens barely noticeable. Direct-view LED panels, in particular, provide even better image quality by offering higher resolution and color accuracy, which is ideal for large-scale, high-impact visuals.
However, there are some drawbacks to using LED screens when making your video wall. LED walls cost more than other options, especially for large installations. They can also be sensitive to environmental factors like heat and humidity, which may require additional maintenance in certain conditions. Despite these cons, the advantages of brightness, durability, and flexibility make LED panels a top choice for creating dynamic, professional video walls.
Projection Cubes and Blended Projection
For large, irregularly shaped walls, rear-projection cubes or blended projection setups can create custom video wall displays. These are less common for DIY projects but provide flexibility for large, bespoke installations.
Select Controllers and Media Players
To make your video wall work seamlessly, you’ll need a controller or media player. Controllers come in two main types:
- Hardware-Based Controllers: These provide robust, stable performance without relying on an operating system. They’re ideal for larger installations.
- Software-Based Controllers: These are PC-based and offer more flexibility, but they may have bandwidth limitations when handling high-res content across multiple screens.
For home installations, an HDMI matrix or multi‑output media player that supports a 2×2 layout and 4K resolution can manage a small video wall. Check product specifications for features like bezel compensation, image rotation and network control. These features vary across manufacturers and help fine‑tune your wall’s appearance.
Choose Mounting Hardware
Next, choose your mounting options to ensure your video wall is secure:
- Wall Mounts: Fixed brackets are great for permanent installations where maintenance isn’t frequent.
- Standing Frames: These are freestanding units that are easier to move and maintain, which is ideal for trade shows or exhibits.
- Ceiling Mounts: Use these if floor space is limited. They need careful planning to ensure safety.
Video walls are heavy, so always make sure the space can safely support the weight.
Connect Displays and Wiring
Use high‑quality HDMI, DisplayPort or DVI cables to connect the output of your media player to the video‑wall controller, then connect each output to a display. Power each display individually and ensure that the controller has its own reliable power source. Proper cable management reduces clutter and prevents accidental disconnections.
When calculating the total power draw, verify that your home or venue electrical system can handle the load. For trade shows, confirm with the venue that they can provide the necessary electrical support for your video wall. Network infrastructure may also be needed if you plan to stream content or update the wall remotely.
Maintain the Wall

To keep your video wall running smoothly, regularly clean it with a microfiber cloth to prevent dust buildup, which can degrade image quality and cause overheating. For portable walls, handle panels carefully to avoid damage. Keep an eye on cables and monitor the system for issues like inconsistent tiles or loose connections.
Plan for long‑term support. Working with professional video wall installers can provide warranties, safe installation and after‑sales service. They handle the heavy lifting and ensure proper electrical grounding, which protects both equipment and users.
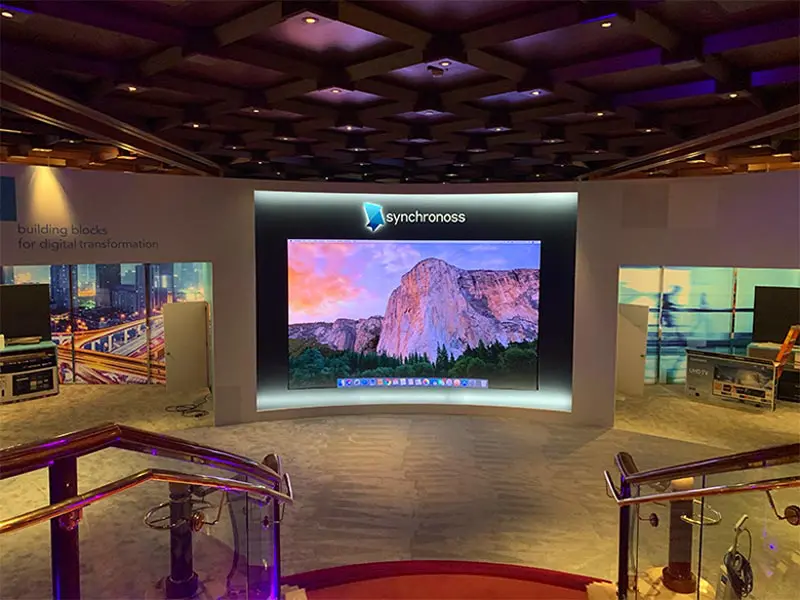
How To Add a Video Wall To an Exhibit Stand
Adding a video wall to an exhibit stand requires extra thought about placement, content and visitor flow. Place the wall at eye level or slightly above so it’s easy to spot. Position it along high‑traffic aisles or near booth entrances to grab attention. Always ensure there is enough space for visitors to view and interact with the display without blocking aisles.
Finally, design content that aligns with your brand and objectives. Bold visuals, interactive demos, live data dashboards and social‑media feeds are effective strategies for trade shows. Interactive games and competitions can attract visitors and generate leads, while live streaming extends your message to remote audiences.
LV Exhibits Knows How To Make Video Walls That Draw a Crowd
Whether you want to make a video wall at home or build a show‑stopping exhibit for your company, you need to plan carefully and select the right equipment. For projects that demand precision, reliability, and advanced technology, partnering with experts makes all the difference.
At LV Exhibit Rentals, we specialize in transforming your custom exhibit concepts into reality with cutting-edge video wall solutions that make a lasting impact. Ready to captivate your audience and elevate your event? Contact us today to design the perfect high-definition LED video wall rentals for your next trade show or corporate event.